
11 V 11 Soccer Formations: 10 Shapes and Their Roles
At half-time, a coach checks the formation board. The team still has its 4-4-2, but opponents keep receiving through the centre because the central midfielders have stopped moving as a pair. One presses the ball while the other stays too deep, leaving a passing lane between them.
The shape was right on paper. The decision behind it wasn't. Moving a player token won't solve the problem unless the players understand who presses, who covers and when both should shift.
That's the useful starting point for 11 v 11 soccer formations. The numbers describe an initial arrangement, while the football depends on how players respond when the ball moves. Tracking-based formation analysis published in the Journal of Sports Analytics supports treating formations as phase-dependent structures rather than permanent match-long shapes.
A practical formation plan therefore needs more than positions. It needs an attacking movement, a defensive response and a recognisable trigger connecting them.
The coaching question: Which player changes the shape, and what tells that player to move?
The shapes below offer different answers. Each gives players a starting structure, but each also creates a particular decision: whether to press or screen, overlap or hold, support underneath or threaten behind. A useful coaching diagram makes that decision visible before practice tests it against opponents.
Table of Contents
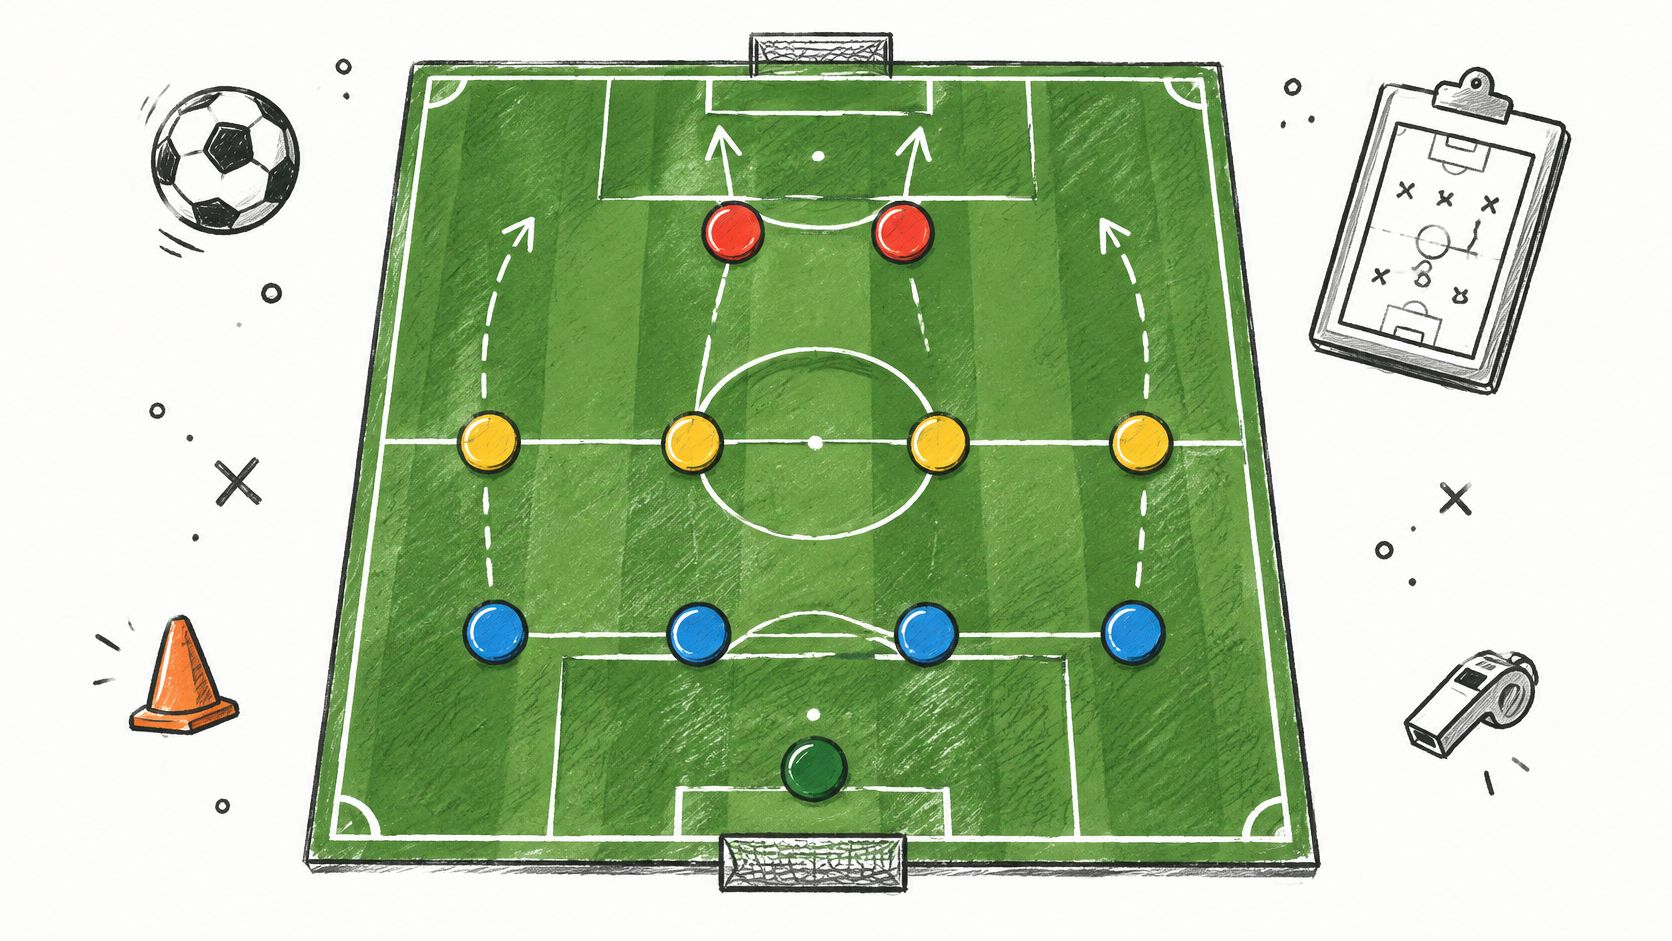
1. 4-4-2
The central-midfield partnership determines whether the lines stay connected. A back four, a midfield four and a forward pair provide clear reference points, with wide midfielders supplying width and strikers combining centrally.
In possession, a striker dropping towards the ball can create a midfield connection while the partner threatens behind. Out of possession, that supporting striker can screen the opposition's deepest midfielder rather than chase a centre-back without support.
Coach the pair, not the individual
The main trade-off appears against an opposition midfield overload. If both central midfielders follow opponents independently, they leave the space they're supposed to protect.
Pressing decision: The nearest midfielder engages when cover is available; the partner moves across and slightly behind.
Wide responsibility: The wide midfielder tracks an advancing full-back, with a clear handover rather than an automatic retreat.
Forward relationship: One striker offers to feet while the other stretches the defence.
Example: Against opponents building through a holding midfielder, the supporting striker blocks that passing lane. If the ball travels wide, the midfield shifts together instead of sending a central player on an unsupported chase.
Coaching cue: Nearest presses, partner protects the inside pass.
The supplied illustration can introduce the starting arrangement, but player counts and arrow meanings need checking before coaching use.
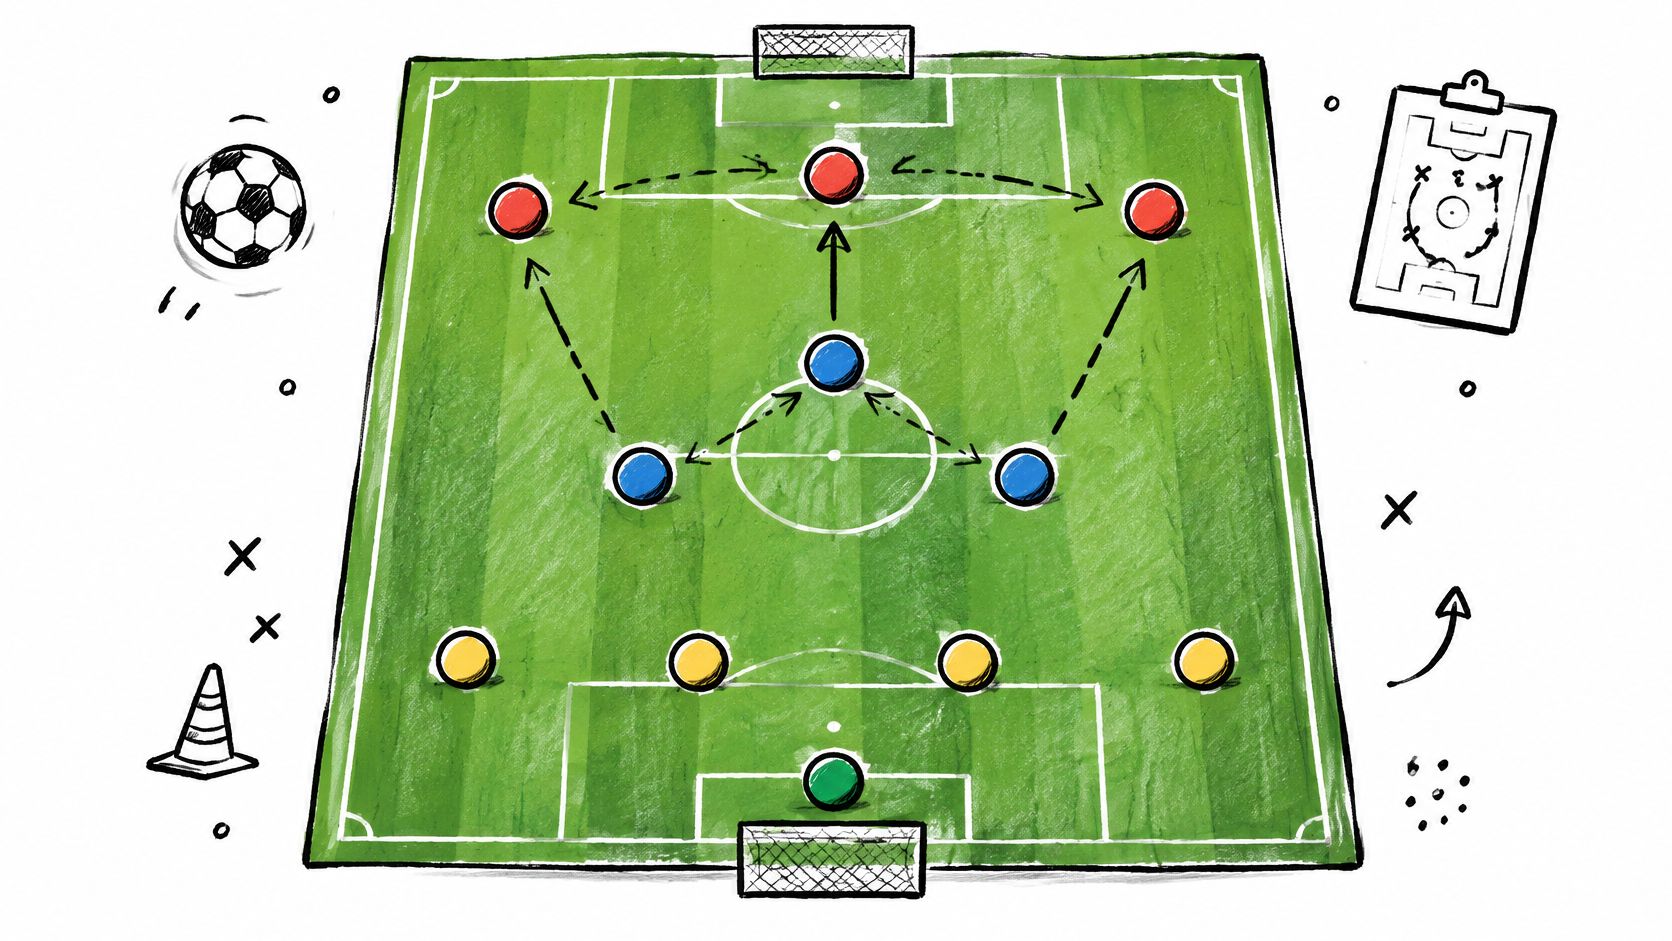
2. 4-3-3
When a winger receives wide, the full-back must read the space rather than overlap automatically. If the winger holds the touchline, the full-back can support underneath or move inside; if the winger narrows, an overlap can restore width.
The starting structure combines a back four, a midfield triangle and a front three. Its value lies in those relationships, not just in keeping attacking players high.
UEFA's technical report describes how a 4-3-3 can adapt into a 4-2-3-1 while retaining the back four and creating a double midfield screen. That requires a midfielder to recognise when to join the holder and when to advance between opposition lines.
Connect the winger and full-back
In possession, the full-back changes the attacking structure through an overlap or an inside supporting position. Out of possession, the winger's recovery can turn the front line into a deeper midfield line, while the holder protects central access.
Example: Against a narrow defensive block, the winger stays wide and receives to feet. The nearby interior offers an inside pass, while the full-back waits beneath the ball rather than bringing another defender into the same space.
Coaching cue: If the winger comes inside, check whether width is still occupied.
The illustration below is a starting reference, not evidence of a complete rotation.
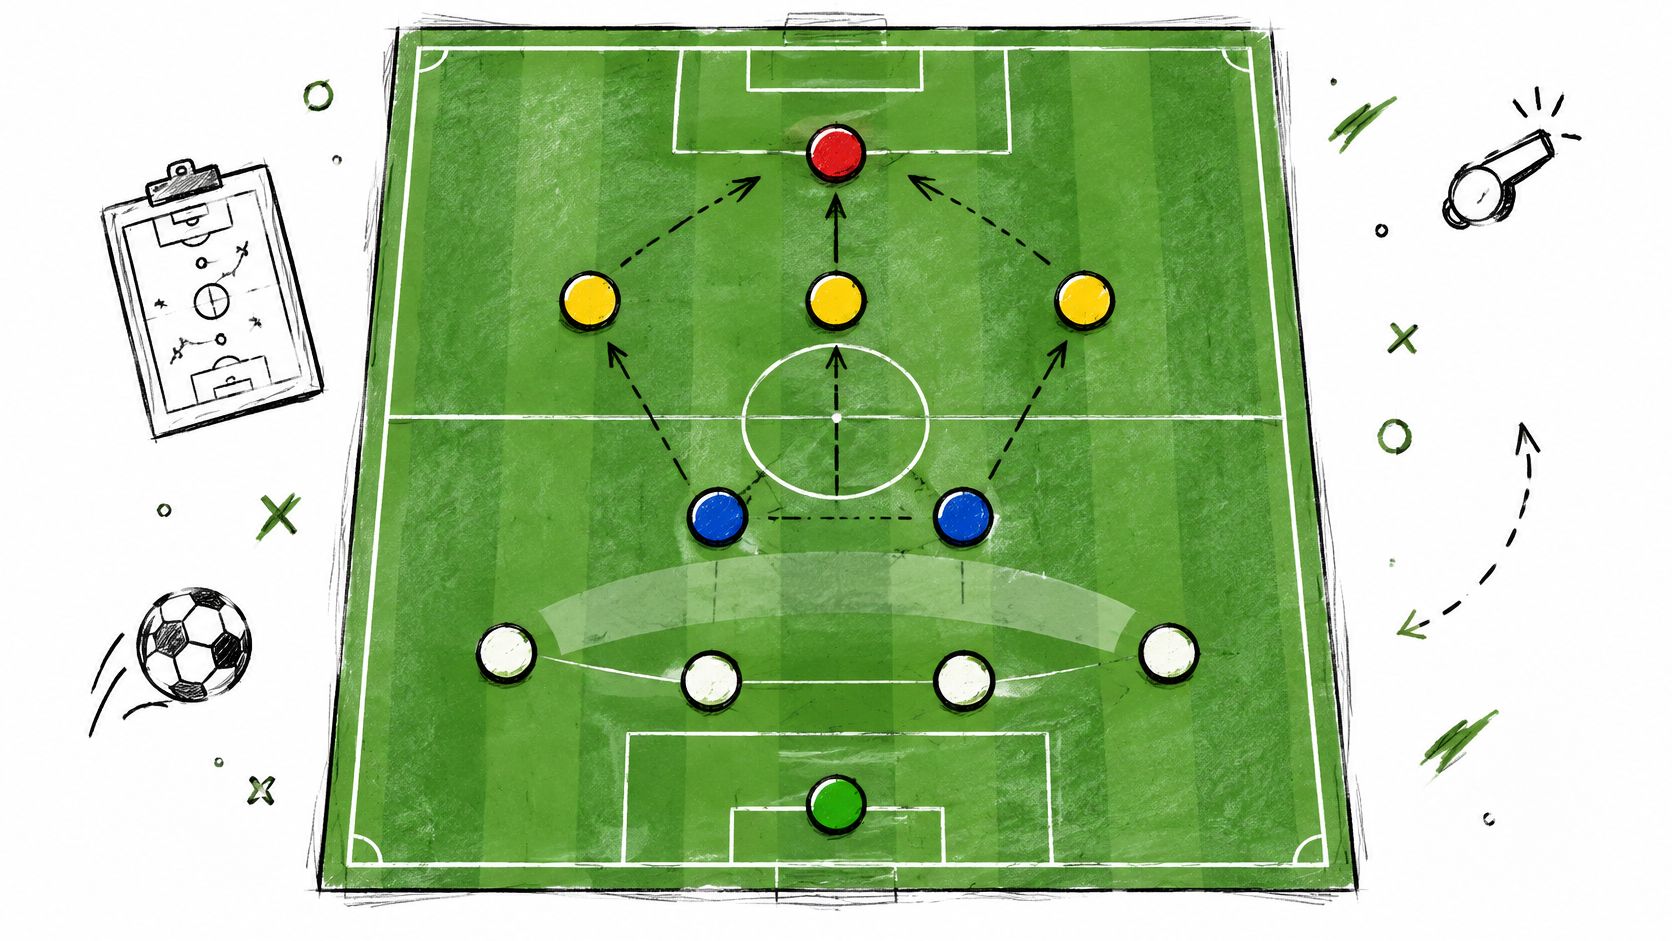
3. 4-2-3-1
The double pivot works when its players offer different passing angles. If both stand beside each other behind an opponent, the apparent security becomes a blocked route forward.
The shape places a holding pair beneath an attacking midfield line and a lone striker. At the beginning of the 2024/25 Premier League season, it represented 51.6% of recorded formations, according to the Premier League's formation analysis.
The number ten changes the structure most visibly. In possession, that player finds space between midfield and defence or drops to connect play; without the ball, the player can join the striker or recover to screen midfield.
Pivot movement: One offers beneath the ball while the other finds a different height or lateral angle.
Attacking connection: The number ten moves away from the striker before combining, rather than occupying the same receiving lane.
Defensive protection: Both pivots shouldn't advance beyond the ball together without replacement cover.
Example: When an opponent tightly marks the number ten, the striker drops towards the pass and the number ten runs beyond. The movement changes the receiver without abandoning central occupation.
Coaching cue: Different heights, connected distances.
A guide to 11-on-11 soccer positions helps separate the starting role from its changing responsibilities.
The supplied graphic should be treated as an illustrative layout.
4. 3-5-2
A wing-back advancing into the final third creates an immediate question behind the ball: who protects the channel if possession changes? The outside centre-back can't cover both the touchline and the central striker without support.
The structure combines a back three, wing-backs, a central midfield group and a forward partnership. Wing-backs supply attacking width, then recover alongside the centre-backs when sustained defending demands it.
A season-long GPS study of elite male footballers found that 3-5-2 produced the highest overall physical demands among the formations compared. That makes wing-back workload and available replacements part of the tactical decision.
Protect the space behind the wing-back
In possession, the wing-back's height changes the team's width and attacking depth. Out of possession, the same player must judge whether to press immediately or recover, using pressure on the ball as the reference.
Example: During an attack down the right, the nearest midfielder supports beneath the wing-back. If possession is lost and the receiver can face forward, the wing-back recovers while the outside centre-back delays the attack.
A recovery run needs an identified destination, not just an instruction to run back.
Coaching cue: If the ball isn't under pressure, protect the channel first.
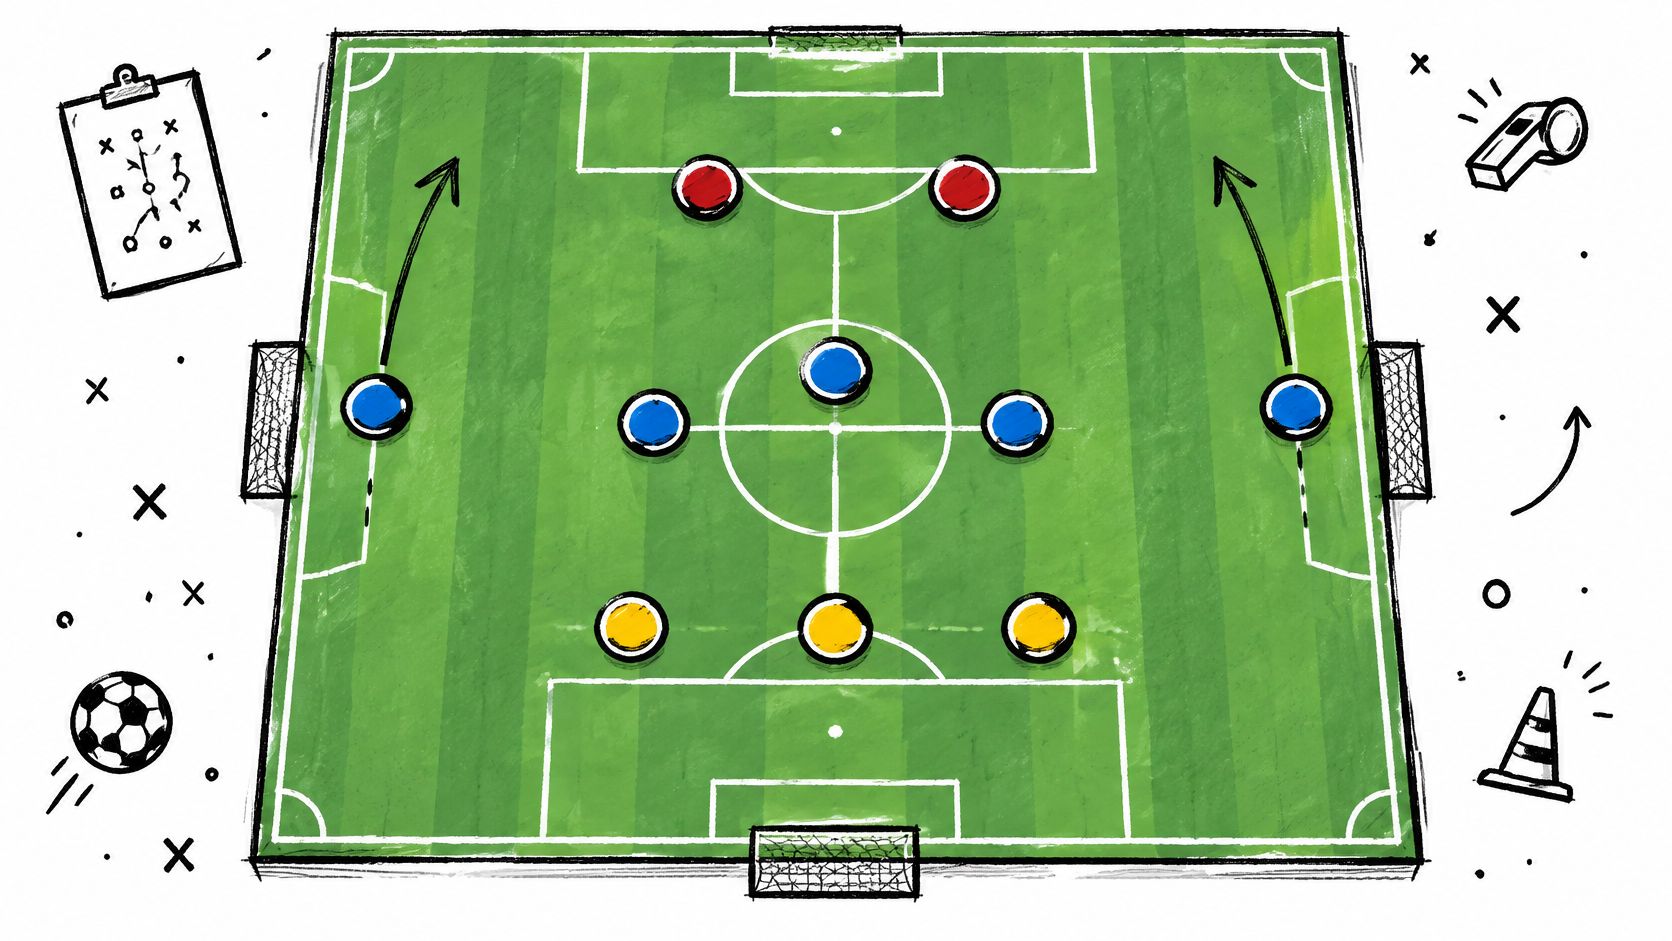
The illustration can support discussion of starting positions; recovery paths need adding and checking.
5. 3-4-3
Width belongs to a role, not permanently to a shirt number. In a 3-4-3, a wide forward can hold the touchline while the wing-back supports inside, or the forward can narrow while the wing-back advances outside.
The back three provide the initial platform, with a central midfield pair beneath the front line. That midfield pair can become stretched if the forwards remain high and the wing-backs advance without checking support distances.
Make rotations conditional
The wide forward changes the attacking shape by moving inside to receive or threaten the penalty area. Without the ball, that player's recovery determines whether the team can form a deeper midfield line or leaves the wing-back exposed.
Before advancing: The wing-back checks whether the wide forward has released the outside lane.
Before pressing: The forward checks whether midfield can close the next central pass.
Behind the attack: The far-side wing-back narrows when necessary to support cover rather than copying the ball-side run.
Example: Against a full-back who follows the wide forward inside, the wing-back attacks the vacated outside lane. If the defender stays wide, the forward receives inside instead of forcing the same overlap.
Coaching cue: Read the defender before exchanging positions.
A positional practice should reward the appropriate choice, not a compulsory rotation. Requiring an overlap on every attack teaches a pattern but removes the decision that makes the pattern useful.
6. 4-1-4-1
The holding midfielder shouldn't spend the match chasing the ball across the pitch. The role is to protect access through the centre while supporting pressure ahead.
A back four sits behind the holder, with a midfield line beneath the striker. The arrangement gives clear screening references, but the striker can become isolated if the midfield never advances after a regain.
In possession, the holder can drop towards the centre-backs when that movement creates a useful build-up option. Out of possession, the holder stays connected to the midfield line and tracks threats entering the space behind it, rather than following every opponent away from the centre.
Release a midfielder after the regain
Example: After intercepting a central pass, the holder finds the striker's feet. The nearest interior advances for the lay-off while the other stays available beneath the attack.
Pressing trigger: An interior steps towards a receiver whose first touch restricts the next pass.
Covering response: The holder shifts behind that pressure while the far-side interior narrows.
Attacking support: A midfielder moves beyond the ball once possession is secure enough to support the striker.
Coaching cue: Protect the pass behind the presser.
The common mistake is treating the midfield line as a fence that must remain flat. Players need permission to step, cover and advance, provided a teammate recognises the space each movement leaves.
7. 5-3-2
A back five gives the defence numbers, yet the match still turns on three choices: when the wing-back steps, how the outside centre-back covers, and which midfielder protects the inside lane. Like the old WM, the digits matter less than which defender is released to press.
Out of possession the starting shape is a back five, three central midfielders and two forwards. In possession it can become a 3-5-2 once a wing-back advances and the outside centre-back tucks across. Coach that as a phase change for the players.
Avoid defending only the penalty area
If the wing-back retreats under no pressure, opponents receive wide and deliver without challenge. If the wing-back jumps before cover is set, the channel behind opens for a runner facing forward.
Example: When an opposing winger receives with their back to goal, the wing-back closes while the outside centre-back covers inside. If the pass releases a forward runner instead, the line protects depth and delays the attack.
Transition priority: Keep a forward available for the first pass, with the partner offering a different movement.
Coaching cue: Step when covered; delay when exposed.
Give the nearest midfielder a clear rule after the regain: join the first forward pass when the strike pair can pin two defenders, or stay beneath the ball and secure the second pass.
8. 4-4-2 Diamond
Central combinations are attractive until opponents switch play beyond the narrow midfield. The diamond asks its side midfielders to balance central support with protection of the flanks.
The midfield contains a holder, side interiors and an attacking midfielder beneath the forward partnership. Full-backs usually provide the outside passing options, but their advances need coordination rather than simultaneous licence.
Connect the full-back and interior
In possession, the full-back changes the shape by advancing beyond the narrow midfield. Out of possession, the nearby interior moves across to help defend the flank, while the holder protects central space.
Full-back advance: The interior offers support inside rather than occupying the same wide lane.
Far-side balance: The opposite full-back checks the remaining cover before advancing.
Central connection: The attacking midfielder stays available between lines instead of continually dropping beside the holder.
Example: Against opponents pressing narrow, the holder switches towards the full-back. The nearby interior supports underneath, a striker threatens the channel and the attacking midfielder remains available for the return pass inside.
Coaching cue: Support the flank without emptying the centre.
A central rondo can introduce the passing relationships, but it won't teach the whole defensive problem. Add wide targets and changes of direction so midfielders must decide when to leave the diamond and when to recover into it.
9. 3-4-2-1
A receiver between the lines is useful only if teammates can reach that player. In a 3-4-2-1, the attacking midfielders must move in relation to the ball and each other, not just stand in the inside channels.
The structure places a back three beneath wing-backs and a central midfield pair, with attacking midfielders supporting a lone striker. Width comes principally from the wing-backs, allowing the supporting attackers to seek central receiving positions.
Separate the supporting attackers
In possession, a supporting attacker can drop towards midfield while the other stays higher. Out of possession, their recovery can create a midfield line ahead of the wing-backs, or they can remain higher when the pressing plan supports it.
Example: When the opposition midfielder blocks the right-sided attacking midfielder, that player moves away to draw attention. The striker checks towards the ball and the opposite attacking midfielder threatens the space behind.
The trade-off is central congestion. If both supporting attackers and the striker all come short, the opposition back line can advance without protecting a run behind.
Receiving detail: Check the shoulder before moving into the passing lane.
Supporting detail: Offer a return pass beneath a teammate receiving under pressure.
Transition detail: Protect central access before chasing the ball outside.
Coaching cue: One connects, another threatens beyond.
Coaching diagrams should show those contrasting movements rather than identical arrows towards the ball.
10. WM (3-2-2-3)
WM offers a historical reference for how coaches divided defensive, linking and attacking responsibilities. Its outline places a back three behind two half-backs, two inside forwards and a line of three forwards.
A modern back three shares that silhouette, yet coaching now must account for collective pressing, recovery positions and the movement of the whole block, so the old numbers do not transfer unchanged. The role logic does carry forward. The inside forwards, receiving between the opposition's lines, became the attacking midfielders of a 3-4-2-1 or 4-2-3-1, and the half-backs who covered the wide channels passed that job to full-backs and wing-backs.
Trace how the roles evolved
For a teaching example, the inside forward is the role that changes the structure. In possession, that player drops to connect with the half-backs or advances towards the central forward. Without the ball, decide whether the player screens centrally or recovers alongside the midfield.
Example: An educator places a WM layout beside a modern 3-4-2-1. Learners trace the nearest passing options, then identify who would protect the wide channel after a turnover.
Attacking comparison: Which player supplies width when an inside forward moves centrally?
Defensive comparison: Who covers when an outside defender leaves the line?
Evolution comparison: Which modern position inherits the half-back's wide-covering job?
Coaching cue: Identify the space a movement leaves behind.
A soccer formation builder guide can support this side-by-side diagramming exercise. The teaching value lies in showing how responsibilities shifted as the shape evolved.
Core structure and tactical use of common 11 v 11 formations
The numbers tell you where players start. Coaching begins with the decision each shape sets, so read the table through the role that changes it and the question that role raises on and off the ball.
Shape | Role that changes it | Decision in possession | Decision out of possession | Coaching cue |
|---|---|---|---|---|
4-4-2 | Second striker | Drop between the lines or stay high and pin both centre-backs | Which striker screens the pass into their pivot | Pair the strikers so one presses and one shows play wide |
4-3-3 | Wide forwards | Hold the touchline or come inside to free the advancing full-back | Press the full-back or sit on their holding midfielder | The winger's first pressing step sets the trap |
4-2-3-1 | Number 10 | Find space between their midfield and defensive lines | Join the press or lock onto their pivot | Keep the 10 on their deepest midfielder until the press is set |
3-5-2 | Wing-backs | Judge when to advance and become the team's width | How far to drop and complete a back five | Press with the wing-back only when a centre-back can shuffle across |
3-4-3 | Wing-backs | Supply width while the front three attack inside channels | Wide forwards recover infield or stay high for the counter | Wide forwards run inside the pitch on the regain |
4-1-4-1 | Single pivot | Drop between the centre-backs or stay ahead to receive | Screen the central lane alone until help arrives | The midfield four slide as one unit around the pivot |
5-3-2 | Wing-backs | Choose the moment to break out on the counter | Tuck in early and keep the midfield three compact | Stay patient, break only on a forward-facing regain |
4-4-2 Diamond | Attacking midfielder at the tip | Drift off the striker pair while the full-backs give width | Who covers the wide channel the diamond leaves open | The full-back advances only when his near-side midfielder covers |
3-4-2-1 | Two attacking midfielders | Work the half-spaces while the wing-backs hold the width | Drop to form a midfield four or press their pivot | Name which ten presses and which one screens |
WM (3-2-2-3) | Inside forwards | Drop to link the half-backs to the front three | Screen centrally or recover beside the midfield | Name the covering player before an inside forward drops |
Pick the Shape, Then Test the Decision in Training
Choose the formation for the decision players need to make. A team struggling to protect central passes needs the pressing player and the covering player working as a pair, so the ball carrier meets pressure while the lane behind them stays shut.
Define the role that changes the shape in possession and the response required after a loss. Then identify the trigger: a forward-facing receiver, a teammate pressing with cover, a winger moving inside or a full-back advancing beyond the ball.
A controlled comparison published in PLOS ONE found no significant difference between the tested formations in several collective spatial measures. Compactness and territorial control come from what players do together inside a shape. The label is only the starting point.
Example session for protecting the central lane
Objective: Coordinate pressure and cover so opponents can't pass directly through midfield. Begin with a whole-team game, isolate the relevant relationship, then return to the game, following the progression described in England Football's session-structure guidance.
Player numbers and setup: Use a small central practice with an attacking group trying to pass through a defending pair into a target player beyond them. Mark an outside route so possession can continue when the centre is blocked.
Coaching cues: The nearest defender presses under control; the partner covers the central pass and adjusts as the ball travels.
Progression: Allow the target player to move laterally, then introduce a supporting defender to connect the exercise to the team's midfield unit.
Ability adaptations: Give developing defenders clearer starting positions and slower restarts. For more experienced players, use live turnovers and directional targets.
Return to the game: Check whether players reproduce the relationship without repeated instructions from the touchline.
The diagram should show starting positions, the ball, the pressing movement and the covering position. Distinguish passes from runs, check every player count and add a short note stating the decision being coached.
TFA Tactics Board (Free Tactics Board), by Tactical Football Analysis, runs in the browser with no software installation and adapts to desktop computers, tablets and mobile devices. Its free formation library covers 4-3-3, 4-2-3-1, 3-2-5, 4-4-2, 3-4-3 and 5-4-1, alongside manual positioning, passing and running arrows, notes and PNG export. Paid TFA membership adds multiple phases, animated movement, saved boards, video export, zones, focus areas and additional pitch views, and boards are stored in the browser used.
Test a starting shape and its key movement on the free tactics board, then check whether the same decision appears in training.
TFA Tactics Board offers formation setup, player positioning, pass and run arrows, coaching notes and PNG export for communicating these responsibilities. Build the starting shape, mark the movement that changes it and take that diagram into the next session.


