The night before training, the tactics board fills up quickly. Passes run from the goalkeeper to the striker, runs cover both wings, and the notes try to explain all of it at once. Players then arrive and still don't know what to do with the ball. A soccer drill maker only earns its place when the picture makes one decision visible, and when every arrow, number and note is checked against what players do.
Table of Contents
Start With the Decision the Drill Must Teach
A central midfield pair keeps losing the ball when it tries to turn under pressure. The drill has to make one decision visible before anyone draws a shape. Name it in a single sentence: receive on the back foot, then play forward when the first defender steps.
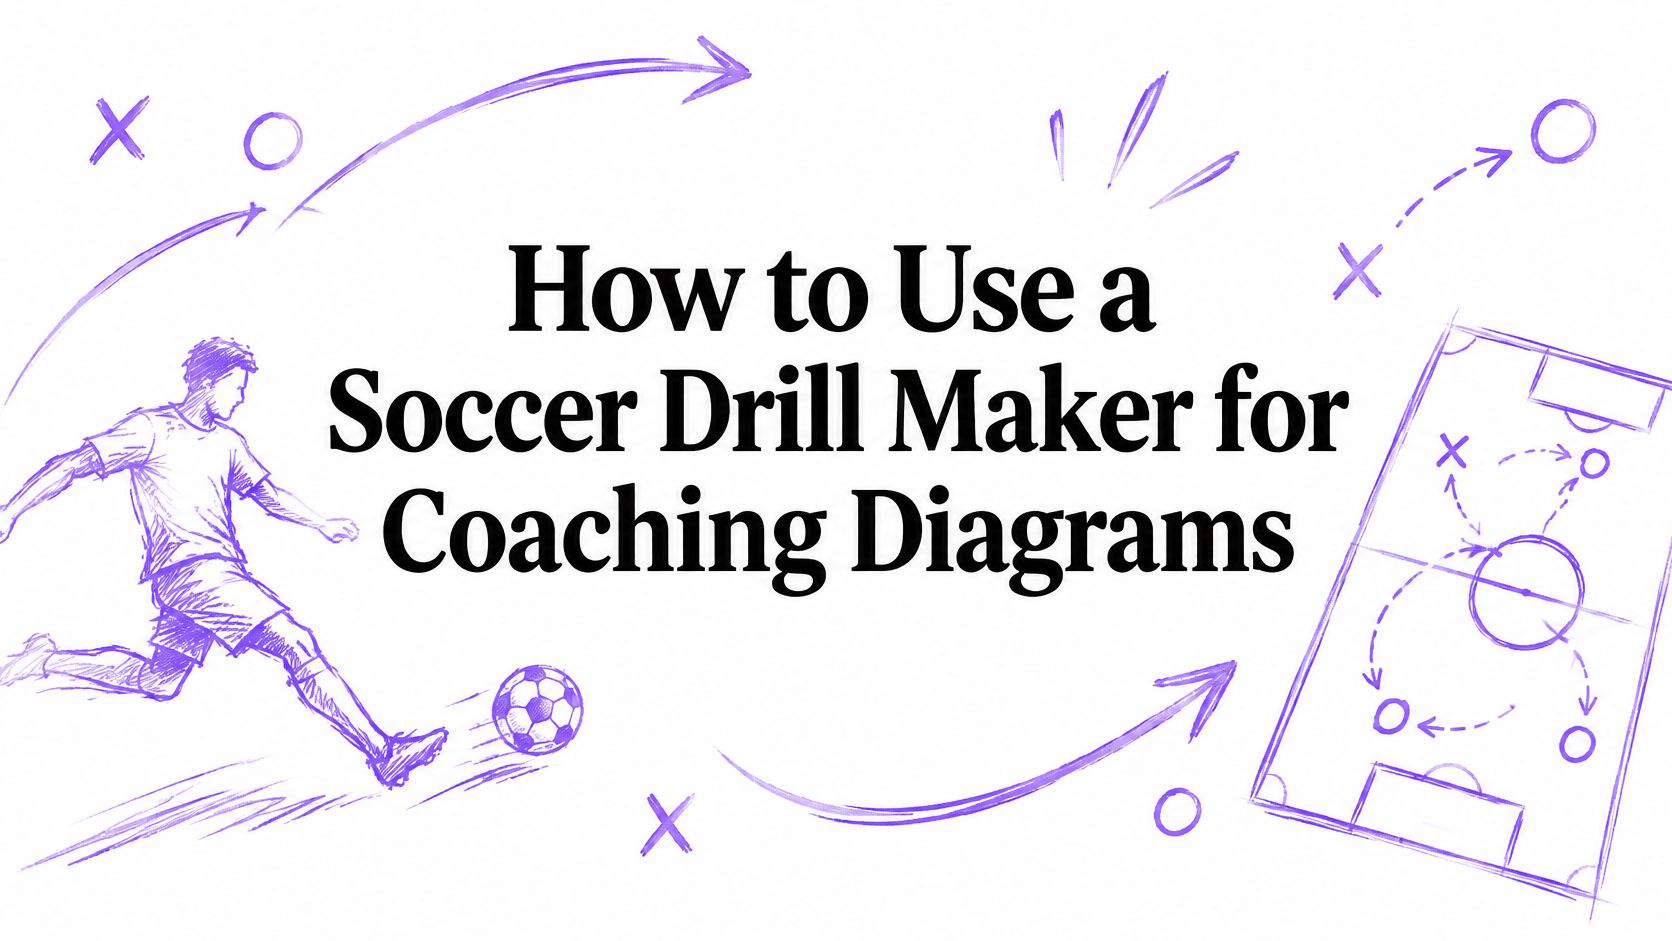
A soccer drill maker is worth opening only after that sentence exists. The board's job is to show the starting shape, the ball and the first pass before the practice starts. A full move to goal can wait.
Three questions come before any drawing.
Where does the pressure come from? Here the first defender steps from the front, so the receiver needs that step, not a vague warning about being pressed.
Which team-mates offer a safe option and a forward option? One player stays short. Another is available beyond the line. If both aren't clear, the decision isn't ready.
What should the team do once the ball arrives? Play forward if the defender has stepped. If the defender holds, secure the ball. A second action belongs in a later round.
If those answers need more than one sentence, narrow the decision on paper first. Coaches, analysts, educators, players and football creators all need that same picture, which is who the board is built for. One clear sentence beats a diagram that tries to coach the whole match.
Practical rule: If the decision can't be said in one sentence, it isn't ready for the board.
How to Build the Diagram Step by Step
The build follows four steps: choose the starting shape, map the football action, add the coaching detail, then export and communicate. Each step has a reason, and each has a slip that sends the picture off the decision.
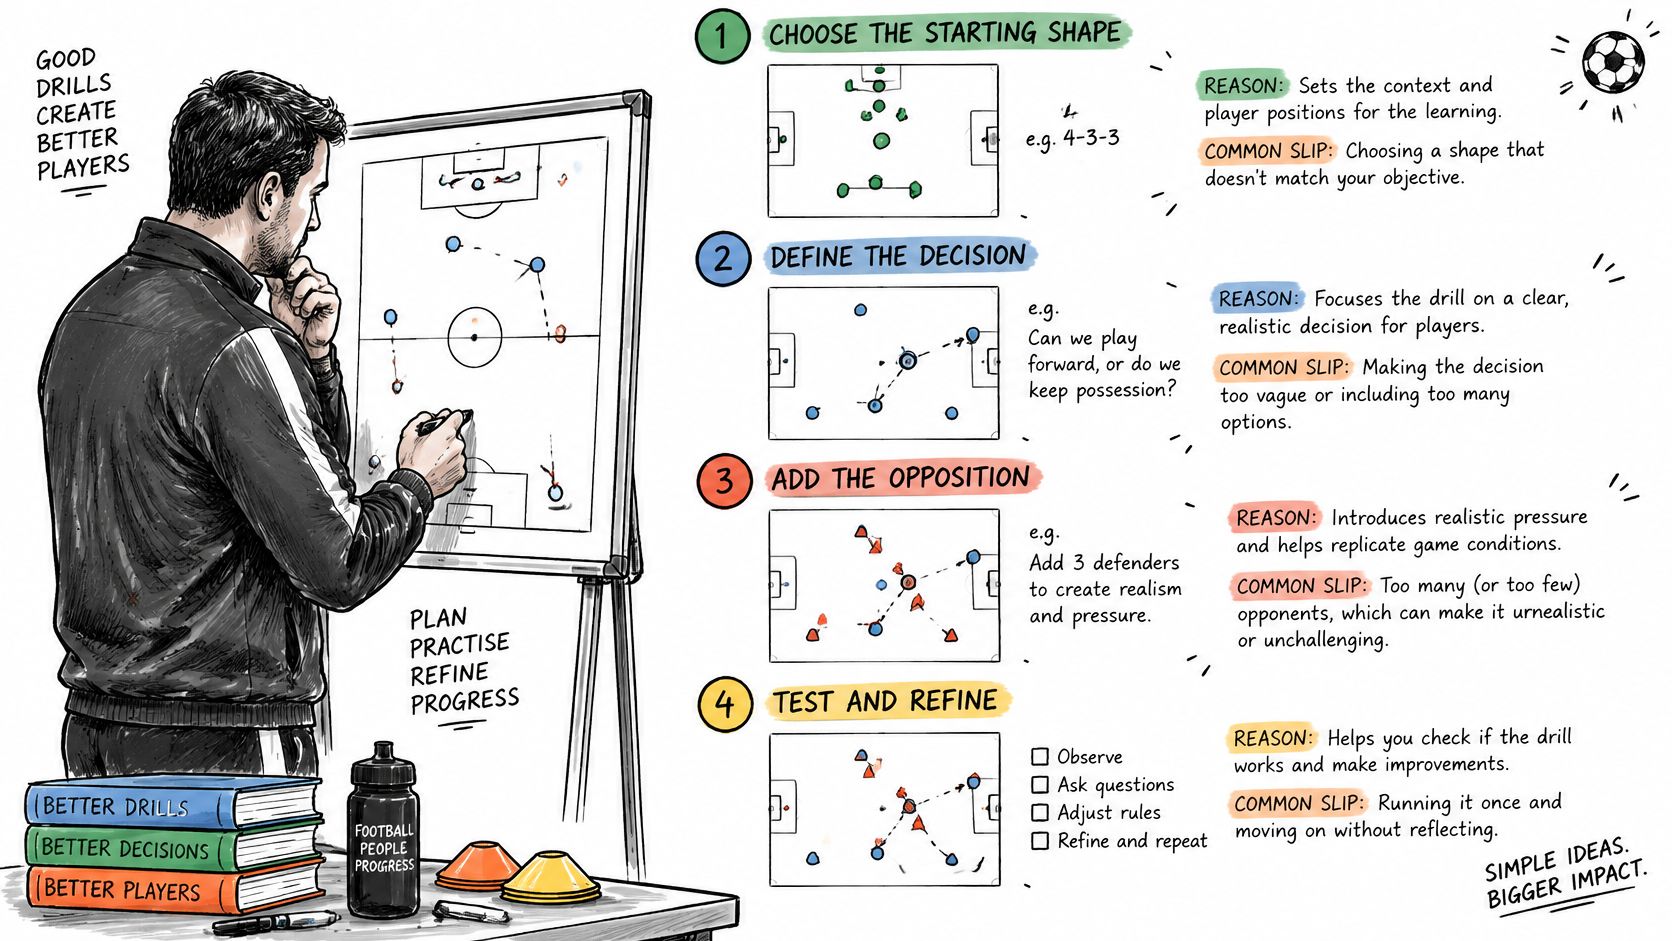
1. Choose the starting shape. Set both teams in the formation the squad uses in that phase, or place players by hand. The free formation library includes 4–3–3, 4–2–3–1, 3–2–5, 4–4–2, 3–4–3 and 5–4–1, so match the library entry to the phase, not to a favourite system. The common slip is copying a team sheet. A 4–3–3 on paper may be a 3–2–5 once the full-backs push on, and the drill then starts from a shape the players never hold.
2. Map the football action. Place the ball where the sequence starts, mark the opponents who create the pressure, then add the support and the first two or three passes and runs. Stop at the decision point, not at the goal. Drawing the whole move to a finish hides the choice. In the midfield example, the picture ends when the receiver plays forward or secures the ball. The third pass is a different drill.
3. Add the coaching detail. Write the cues in the words the coach will say. Keep shirt numbers consistent, and use team colours so the notes and the picture describe the same sides. The slip is notes that describe the arrows ("blue 8 runs") instead of the decision ("if the first defender steps, play forward").
4. Export and communicate. Export a PNG and keep that file, because the board is stored in the browser that created it. Put the diagram beside the session sheet so the picture and the plan travel together.
What a finished board contains
A finished board shows one decision, one starting picture, a short sequence, and notes a coach can read in about ten seconds on the touchline. If the eye has to travel past a fourth pass to find the choice, the sequence is too long. Cut back to the moment the ball arrives.
Symbols and Checks Before You Coach
A tidy diagram can still teach the wrong action. Read every mark as a claim about what a player does next, and run the checks in the order below before anyone else sees the board.
Element | What it shows | Check before publishing |
|---|---|---|
Numbered player | One player with a fixed shirt number and a starting position | Number matches the session sheet and the coaching notes |
Ball | Where possession starts | Sits with the player who makes the first decision |
Pass arrow | The intended pass | Ends at the position of the intended receiver |
Run arrow | Intended movement off the ball | Starts from the position the player holds in the shape |
Team colour | Which side each player belongs to | Matches the opposition described in the notes |
Coaching note | The cue the coach will say | Uses the same words as the decision in the session sheet |
Walk the rows in that order. Confirm every shirt number against the session sheet, because a swapped 6 and 8 sends the wrong player into the picture. Confirm each pass arrow ends on the intended receiver, not in open grass beside them. Confirm each run arrow starts from the position that player holds in the shape. A run that begins two yards away from the body is a different movement. Last, read the coaching note aloud and check it names the same decision as the arrows.
These checks use numbered players, the ball, pass and run arrows, labels, team colours, notes and a PNG. They don't need zones or a cropped pitch. Where a later phase needs animated movement, the notes on types of animation and movement are a separate step, not a substitute for this read-through.
If an element can't be explained in the coach's own words, remove it.
Progressions From Simple to Match-Like Practice
Change one thing at a time, starting from the simplest numerical balance. The FA's guidance on formats of play uses practices such as 3v1, 4v2, 5v3 and 7v4, and treats an unbalanced game as a way to repeat a decision without the coach calling every pass.
Format | Decision it creates | Easier adaptation | Harder adaptation |
|---|---|---|---|
3v1 | Quick decision to pass or move after receiving | Add a free player or allow extra touches | Reduce space or limit touches |
4v2 | Time to identify the free player | Enlarge the area or allow more touches | Add a recovering defender or reduce space |
5v3 | Balance between keeping possession and attacking | Add an attacker or enlarge the area | Remove an attacker or add directional goals |
7v4 | Team shape and recovery after losing the ball | Enlarge the area and allow unlimited touches | Add a transition rule for an immediate counter-attack |
Begin with a non-directional possession game in 4v2 or 5v3. The attacking side has time to find the free player, which is the same information the midfield receiver needed. Then add target goals so the game becomes directional. Finally add a transition rule so the defending side can counter as soon as it wins the ball.
4v3 is the pressure step between those formats. The extra defender tests whether players recognise when to secure the ball instead of forcing the forward pass. For a group that needs more success, add an attacker, enlarge the area or allow more touches. For a stronger group, reduce the space, limit touches or add a recovering defender.
The diagram has to show the numbers, the area and the transition rule exactly. Those three details decide which choice players meet on every restart. Alter one variable per round, watch whether the decision changed, and add another constraint only if it didn't.
Place the Drill Within a Session Structure
A diagram that develops one idea still needs a session around it. The FA's grassroots managing guide sets out a usable order: warm-up, a conditioned small-sided game, work on a match-play aspect, a short sharp physical section, a second small-sided game, and a warm-down. It is a template, not a fixed clock.
Example. A session on defending after losing possession might run like this. A simple activation opens the session. A conditioned game then asks the nearest player to press at once. A larger match-play block tests cover and recovery. The second small-sided game removes the original restriction, so the coach can see whether the behaviour survives when players must also attack. Cues stay on the decision: react on the loss, press if the distance allows, otherwise recover to protect the centre, and name who covers behind.
The FA's plan, do, review framework asks coaches to aim for at least 70% ball-rolling time. Use that as a check that players repeatedly make the decision, rather than standing through a long explanation of the board. Stoppages for a retake should be short.
For the warm-up block, a 2025 review of neuromuscular warm-ups found overall supporting evidence for the FIFA 11+, and associated the child-focused 11+ Kids programme with a 48% reduction in all injuries among younger players. Check current FIFA guidance before writing either programme onto the sheet, match the intensity to the age group, and keep that warm-up block the same from session to session. Further session-design notes sit alongside the sheet, not instead of the live practice.
Test the Drill and Prepare the Session Sheet
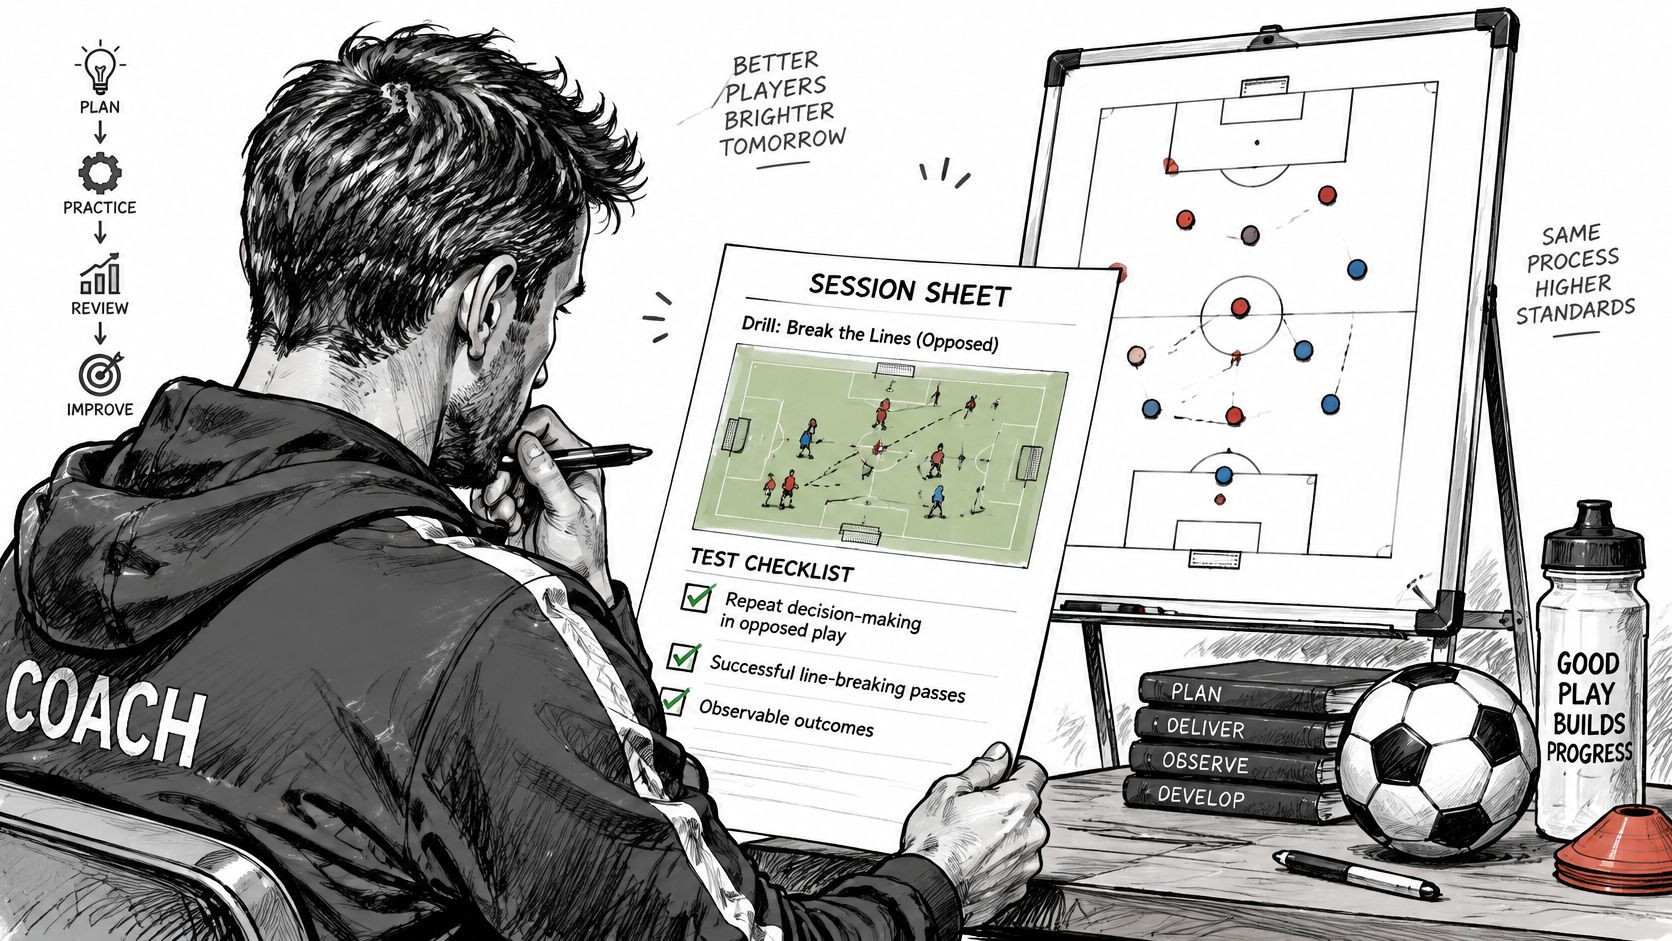
A correct-looking diagram is not evidence that anyone learned the decision. Arrows show the coach's intention. They leave out what the receiver can see, how the opponent adapts, and whether a second solution was available. A review of representative practice separates training form, which is repetition taken out of the game, from playing form, in which players solve a game problem. The support sits with practice that keeps the relevant information in the drill and still allows more than one solution.
What to watch in opposed play
The practice works when the chosen decision shows up repeatedly against opponents, not when the arrows look neat. Watch four outcomes.
Line-breaking passes that match the cue, not hopeful balls into traffic.
Supporting movement that gives the safe option and the forward option.
Possession kept after the team progresses.
The reaction to losing the ball, which should match the recovery cue.
Compare that behaviour with video or a simple coded note from the exercise. Revise the diagram when players solve the problem a different way, or when a constraint produces an action they would never use in a match. Representative practice should invite the action over and over, without forcing one rehearsed pattern.
Fields on the session sheet
Keep the sheet short enough to read at the touchline.
Objective, in one sentence.
Player numbers and teams.
Setup, with pitch size and starting positions.
Coaching cues, in the words that will be said.
Progression, one change at a time.
Adaptations for the group in front of the coach.
Success criteria, tied to the four outcomes above.
Example, labelled as a hypothetical. A youth group works a 7v4 with a defensive objective: after losing the ball, the nearest player presses or recovers to the centre. The objective line states that sentence. Numbers are 7 attackers and 4 defenders. Setup names the area and the restart. Cues are "react on the loss" and "protect the centre". Progression adds an immediate counter only after the first behaviour is reliable. The easier adaptation enlarges the area. The harder one adds the counter. Success is the right reaction on the loss, not a tidy arrow.
Build Your First Board Before Your Next Session
Take one decision from this guide and build it before the next session. Open the board in a browser, with no software download. Place the players and the ball, add two or three arrows, and write one coaching note. Export a PNG before changing device, because the board stays in that browser.
Run the symbol checks on the finished picture, then run one progression in the session. Note what the players did, not what the arrows suggested. Player positioning, the ball, passing arrows, running movements, notes and PNG exports are free, and the 11v11 full-size pitch is free. The 9v9, 7v7, 5v5 and training grid formats need a TFA membership, as do zones, spotlights and other drawing beyond that core. Recheck the live site for current access and pricing before planning a session around those tools.
TFA Tactics Board is a browser-based soccer drill maker for turning one tactical decision into a clear coaching diagram, with formations, the ball, passes, runs and notes on the free board. It fits the way a session is planned, from the first picture through to a sheet a coach can use on the touchline. Try it on TFA Tactics Board.